Yeast Starters: How Much Do You Need
The standard liquid yeast package contains around 100 billion viable yeast cells when it is shipped. This is enough to complete fermentation for a 5 gallon ale homebrew with a 1.048 original gravity (OG). As time goes on, the number of viable yeast cells in liquid packages slowly diminishes. A yeast starter is necessary anytime you are exceeding 5 gallons, are brewing a lager, have more than a 1.048 OG, and/or your yeast pack has been sitting around for a long time.
The first thing that you will need to do after deciding to make a yeast starter is determine how much of a starter you will need. This yeast calculator is extremely handy. Simply fill out the information for your homebrew (making sure to include whether you are using a stir plate, intermittent shaking, or a simple starter), and it will tell you how many yeast cells are needed and how many liters of a starter you should make. For example, a 15 gallon batch of ale with an OG of 1.064 and using a stir plate will require 665 billion yeast cells which equates to a 2.81 liter yeast starter (Using a stir plate will require a smaller starter, while intermittent shaking or no shaking at all will require a larger of a starter).
How to Make Your Starter
Now that you know how much yeast starter you need for your brew, it’s time to get it going. Making a yeast starter is very similar to brewing a tiny batch of beer, only your main goal is to cultivate yeast cells rather than brew delicious beer.
What You Will Need
- Vessel large enough to hold starter
- Erlenmeyer flask works best for small to midsize starters. Mason jar, growler or even plastic container will work.
- Strip of Aluminum foil to cover vessel
- Liquid Yeast
- Pot with lid
- Dried Malt Extract (DME)
- Scale
- Thermometer
- Sanitizer
- Stirring Utensil
- Stir plate (optional)
- Funnel (optional)
- Ice (optional)
Process
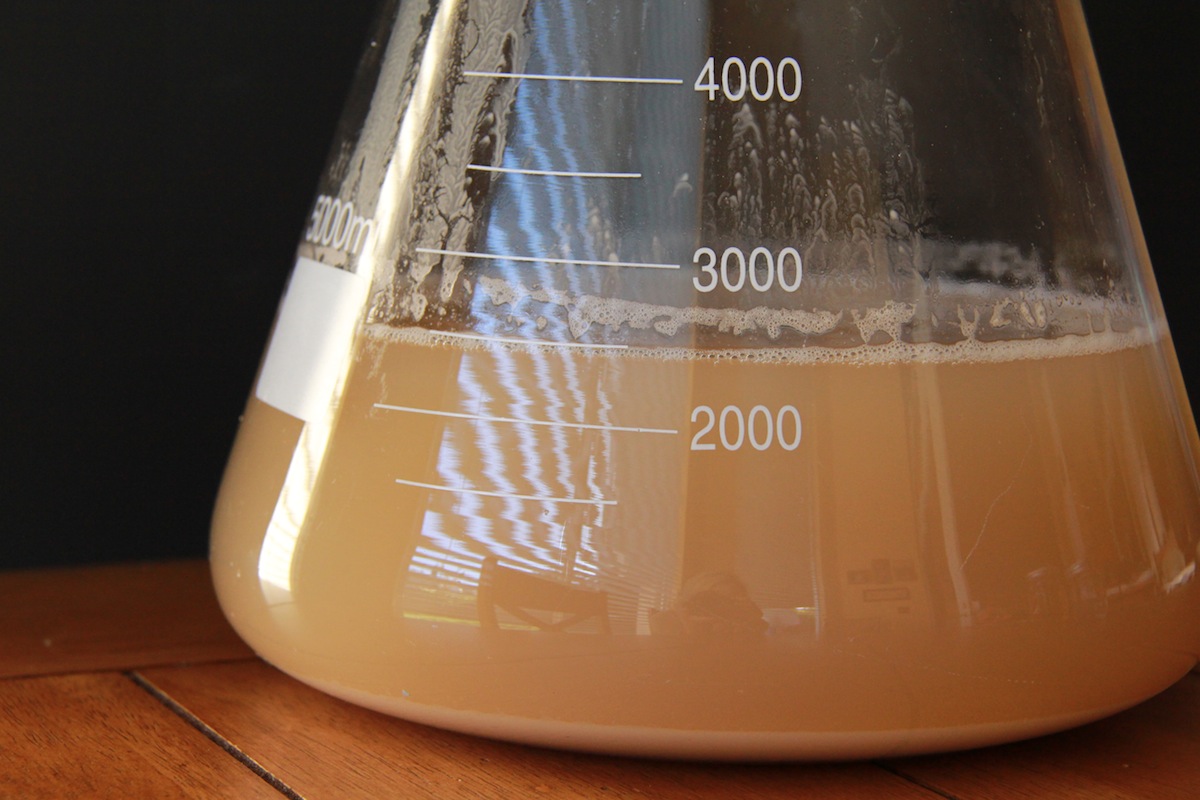
1. Use your scale to measure 1 gram of DME for every 10 mL of your starter. In the previously stated example, 281 grams of DME is needed for the 2.81 liter starter.
2. Add the appropriate amount of water to a pot and bring it to a boil (you will either want to use a lid to limit the boil off or add enough water to account for the water lost in the boil).
3. After the pot is boiling, add your DME and use a stirring utensil to make sure that it gets properly broken up. Boil for 15 minutes.
4. During this time, sanitize all items that might come in contact with the wort later. This includes your vessel, the strip of aluminum foil, the lid to your pot, the thermometer, and the funnel if you decide to use one. Also use this time to prepare an ice bath or whatever method you will use to cool the wort.
5. After 15 minutes, it’s time to chill your wort. You can do this by using a heat exchanger, ice bath, or another method. Make sure the wort chills to at least 75oF but no less than 70oF.
6. Pour wort into vessel and cover the vessel with piece of aluminum foil. The foil will allow oxygen to enter while still keeping bacteria out.
7. Add your yeast and swirl for 30 seconds to a minute while making sure not to spill any. Make sure the yeast is fully broken up in the mixture.
8. Let your starter sit. Unlike beer, it is not necessary to shield it from light.
9. Use a stir plate to add oxygen to the starter. Oxygen is a crucial part of the process as yeast needs it to grow and multiply. If you aren’t using a stir plate, shake your starter every hour or two (Make sure that you entered the correct method of aeration in the yeast calculator).
10. Let your starter ferment for at least 12 hours and up to 72 hours before pitching it into your homebrew.
Now you have the basic knowledge required to make your very own yeast starter. Try it out and let us know what worked or didn’t work for you.
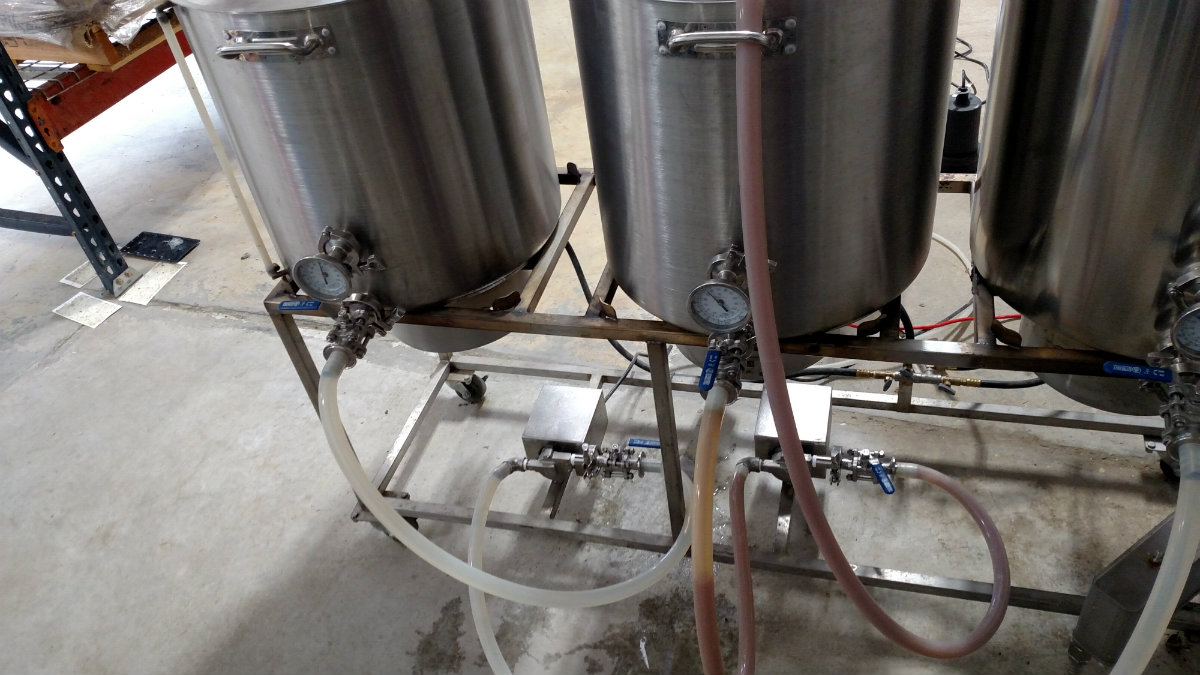
Make sure to check out our home brew systems and homebrewing equipment!
Image courtesy of Brulosophy