If you’re a new homebrewer or considering taking up the hobby, Synergy Brewing Systems would…
A Homebrewer’s Guide to Growing your Own Hops
Growing your own food, whether it’s for environment or organic purposes, is becoming more and more popular. Homebrewers are taking that one step further and growing their own ingredients for beer recipes. Eugene’s Agrarian Ales has surely set the tone for “farm to glass” style of beer, using estate-grown hops and other ingredients grown on site to brew their tasty beers. Us homebrewers are the DIY type, so why not grow our own hops? It’s fun and easier than you might think! Especially in the fertile climate of the Willamette valley. Here’s the latest Synergy Brewing Systems blog, how to grow your own hops.
Step one: choose your hops.
Hops are grown from hop rhizomes, which are perennial roots that will come back every year. You can mail order them or buy them from your local homebrew store. Based on what type of beer you like and want to brew will determine what kind of hops you want to grow. For example, if you love IPAs then you should consider growing centennial or mosaic hops.
Step two: plant your hops.
Until your soil is ready for planting, keep your rhizomes refrigerated and moist. But be careful not to get them too wet. The prime planting time for hops is spring (April-May). Hop plants grow very tall, so you’ll want to plant them in a place where they can climb and with a lot of sunlight. You can drop twine from a tree or house roof or use a wooden stake to act as a support system for the hop plant. Support systems should be at least 8 feet high. Plant the rhizome (horizontally) about an inch below the surface. If you’re planting another variety, make sure they are at least 5 feet apart so that they won’t tangle together.
Step three: train your hops.
Once the hops pop their heads up about a foot high, choose 2 or 3 bines to start wrapping around your twine or support system. They will soon climb up the twine and once they reach the top they’ll grow vertically. First year hops don’t usually grow as tall, so in subsequent years you will probably need a taller support system.
Step four: harvest your hops.
Most hops will be ready to harvest from mid-August to mid-September. You’ll know when they’re ready when they have a strong aroma. You can also test them by squeezing a hop (also called a cone) and press it between your fingers. If it feels dry and papery then it’s ready to harvest! Pick off the cones and lay them out on a window screen to air dry. Once all of the hops are dry, you’re ready to homebrew!
Step five: brew your hops.
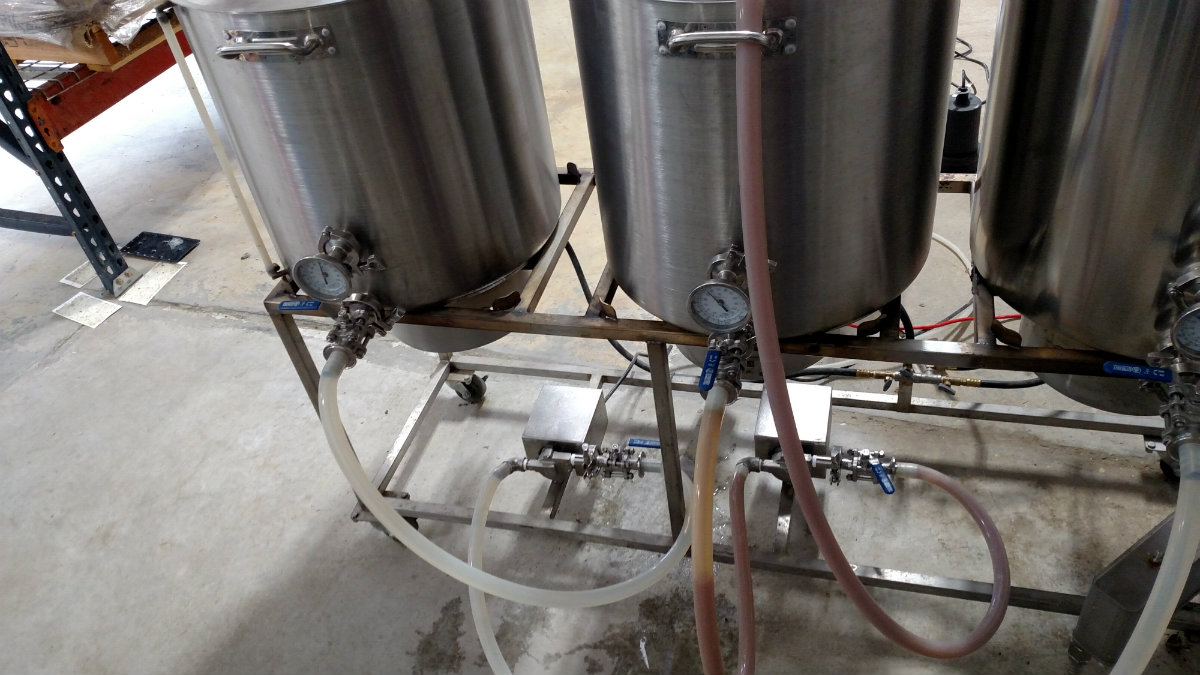
Now that you have your homegrown hops ready, it’s time to try a new recipe in your homebrew system! It will probably take a couple of test batches to get the feel of the potency of the hop. Use the same quantity as you would with commercial hops and get to homebrewing! For any homebrewing equipment, visit our website and don’t forget to send in your pictures of your next homebrewing batch. Happy Hopping!


