The Importance of Fermentation Temperature Control
By Aaron Brussat
Have you ever wondered why you should control the temperature of your fermenting beer? Any humble brewer will tell you, “I don’t make beer; I make wort. Yeast makes beer.” While that is true, one of the final steps in brewing a batch is also the most vital to control: fermentation. Yeast health, pitch rate, and temperature will all affect the way your beer tastes; we’ll just focus on temperature here. While most commercial breweries have glycol-jacketed fermentors they can control to the degree, homebrewers are often left to their wits to finagle ways to keep temperature in check.
Heat is the oft-overlooked byproduct of yeast fermentation; CO2 and alcohol are admittedly the most fun. But a too-warm fermentation means running the risk of unwanted esters (fruity aromas) and fusel alcohols (acetone, for example). Because yeast strains have their own personality, figuring out how to maximize their strengths is a common topic of discussion at homebrew shops around the country.
My personal method is a “poor man’s” approach. I figured out that my laundry room is the perfect place to control temperature naturally. I brew cooler fermentation beers—Kolsch and Scottish Ale, for example—in the fall, winter, and spring. By closing the door and/or cracking the window, I can keep a nice 60°F fermentation temperature until I’m ready for a diacetyl rest; then I open the door to let warmer air in, or move the carboys into the dining room (my partner loves that). I also built an insulated box that I can chill with frozen water bottles to achieve lager temperatures; the down side is that it requires a lot of babysitting. The most common advice is to put your fermentor in a container of water and cover it with a t-shirt; the cotton wicks the water up and keeps the beer cool, while the thermal mass of the water helps keep a stable temperature. While this works, it is not precise.
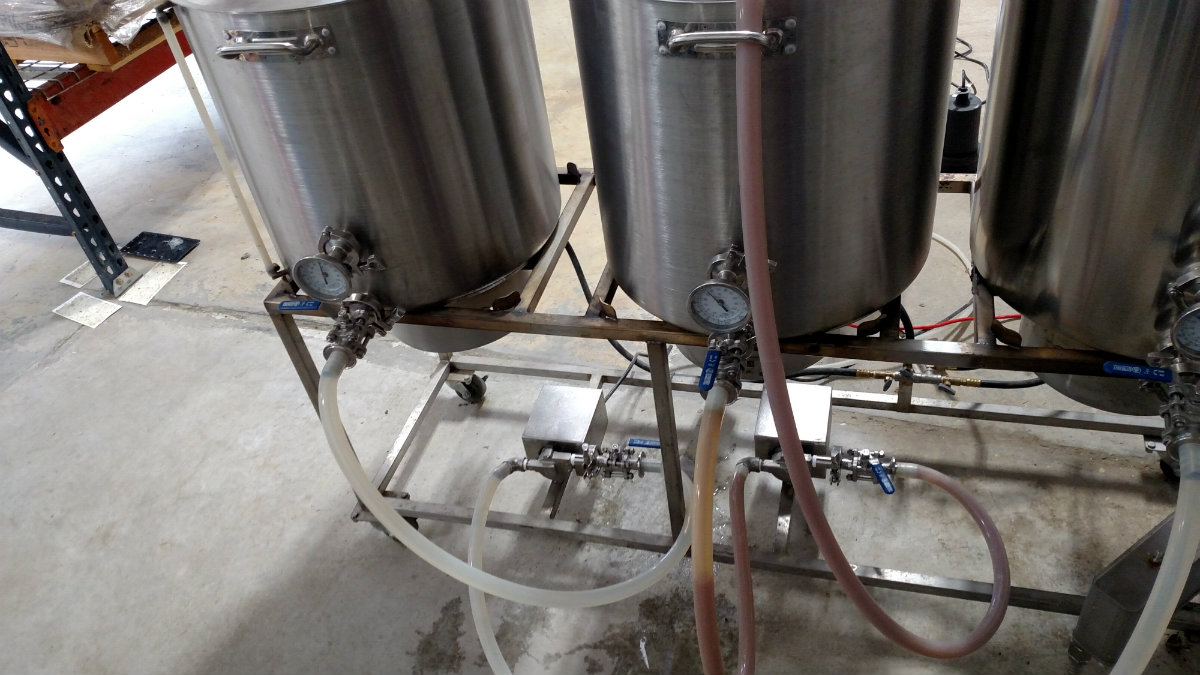
If we had our way, us homebrewers would have numerous refrigerators, each housing a variety of beer containers. If you are so inclined, a cheap fridge and a digital thermostat will give you all the control you need; just tape the probe of the thermostat to the outside of your carboy or, better yet, use a two-holed bung with a thermowell. Or you can pony up for one of these new devices.
So how do you plan your fermentation schedule? I like to brew Belgian ales, but the different Belgian yeast strains are finicky. There is a lot of misinformation on Internet homebrew forums about what temperature will get the best results. The most common are “let it free-rise,” and “brew Belgians in the summer.” That advice is only good if you have used the yeast enough to know how it will act in those conditions. Otherwise you risk disaster. If you do want to get extra character from your Belgian yeast, make sure the rise is steady, and does not increase more than about 8 degrees in total.
Based on the advice of a homebrewer who sold his tasty homebrew at his beer bar in Bruges, Belgium (de Kelk, go there if you can!), a stable fermentation temperature is better than a free-rise. That’s where yeast pitch rate and health come into play, and where this post would diverge from the topic (stay tuned for more on that).
Last year, I collaborated with our friends at Falling Sky Brewing on a Belgian-style pale ale with a base of pilsner, wheat, Munich, and acidulated malts, Santiam hops, and a healthy 2nd generation pitch of the Wyeast Ardennes strain. I made sure we fermented it at a solid 70°F. The result was called Hommel Horse. Others will attest to this: it was quite delicious. It had the soft cotton candy and bright fruity notes from the yeast, with a nice floral character from the hops and a soft body.
While on the topic of fruity esters, it should be noted that the majority are produced during the first 60% of fermentation. If you are a fastidious brewer, you can do a forced fermentation on a small amount of wort: take about a cup, put it in a sanitized container with an airlock, and put it in a warm place like the top of your fridge. After a couple days, before your main beer is finished fermenting, it will have reached terminal gravity. Using that figure, you can know when your beer has fermented enough to be beyond risk of developing esters. For example, if your wort started at 1.060 and your forced fermentation finished at 1.010, you can safely assume that raising the temperature to speed fermentation can be done at 1.020. A slow and deliberate rise of several degrees per day is typical. Once fermentation is complete, you can lower the temperature again to drop the yeast before racking.
Another advantage of that method is that at warmer temperature, the yeast will reabsorb and break down unwanted chemicals like diacetyl (butterscotch aroma) and acetaldehyde (green apple/latex paint aroma).
Ultimately, your relationship with your yeast should be that of a mentor; make sure it is healthy and happy, but don’t let it run away on you.